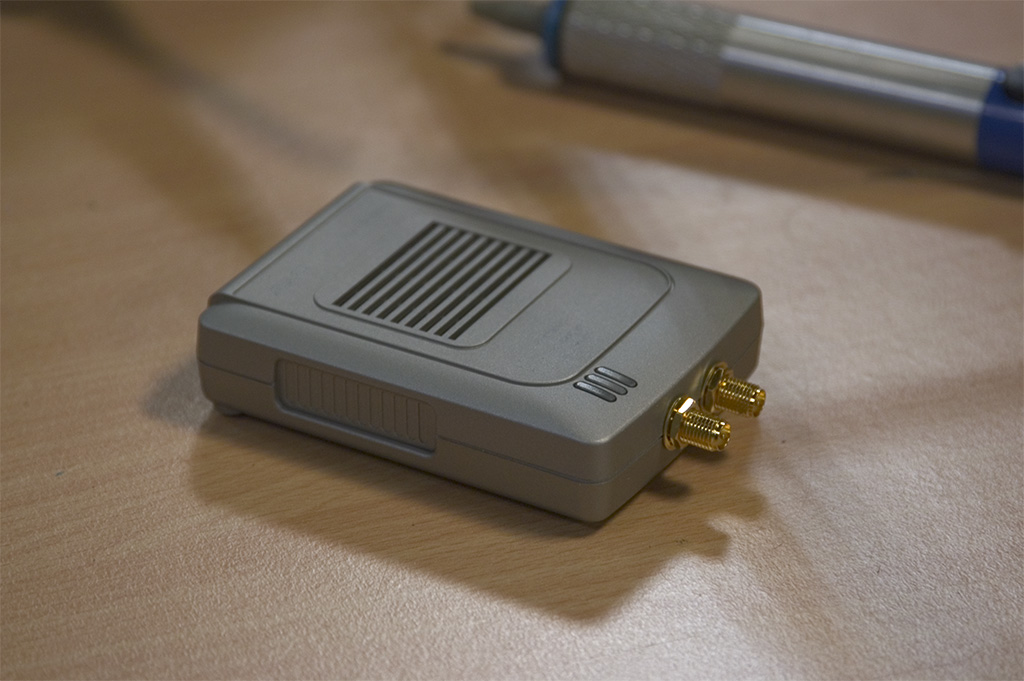
These images and their descriptions are created help people modify their Asus WL-330B Access Point to acommidate external antennas.

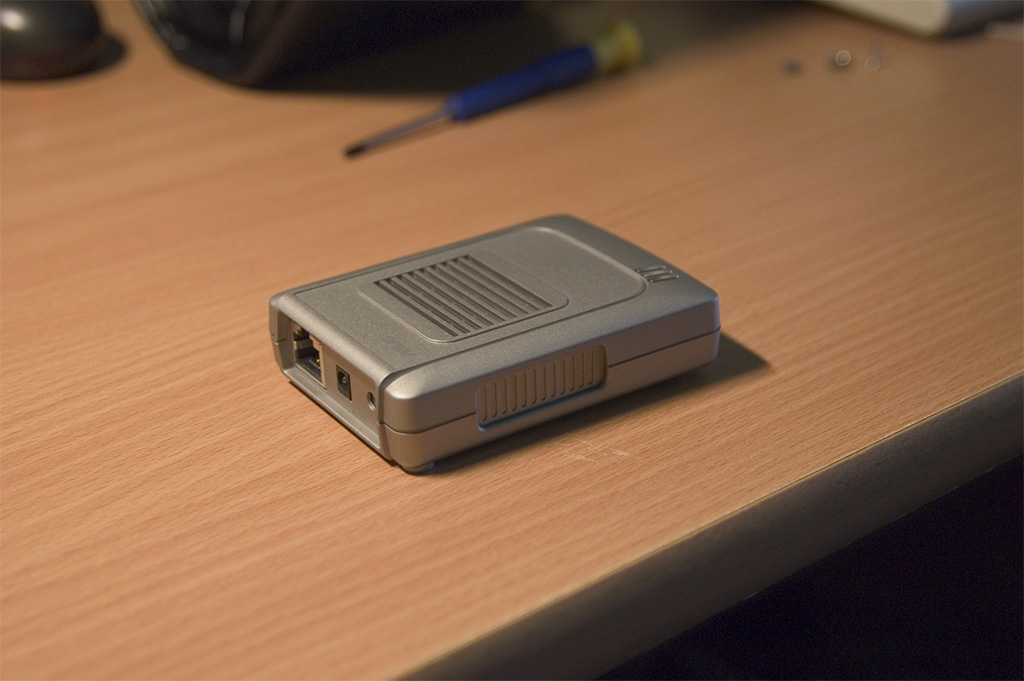
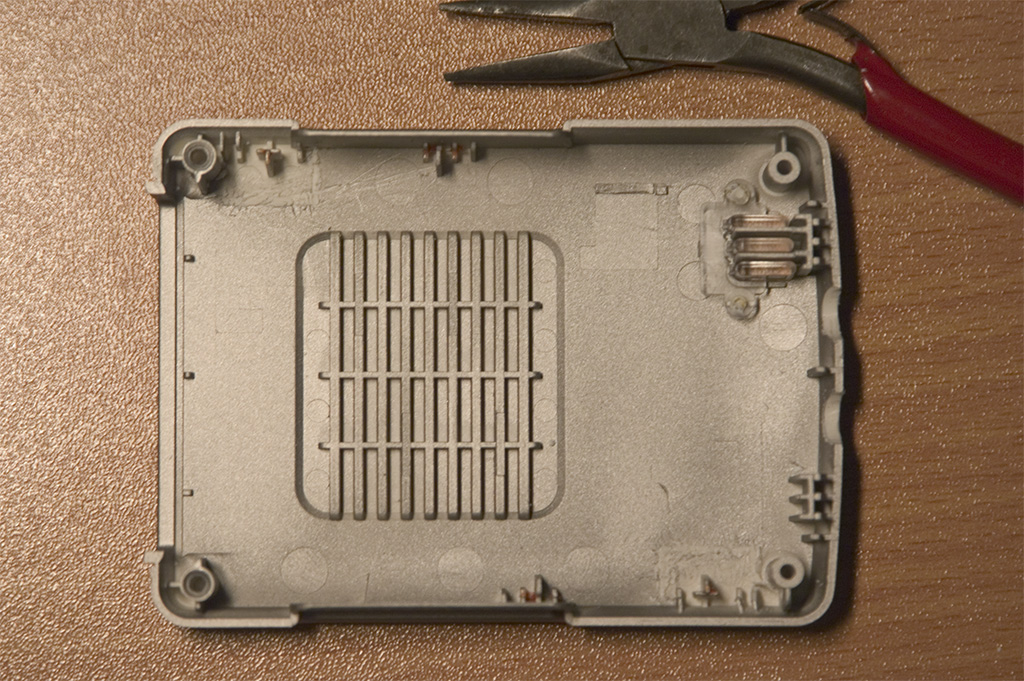
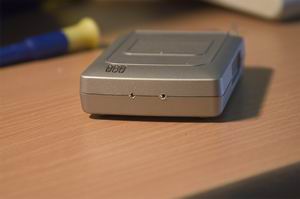
This is the AP before I started modding it.
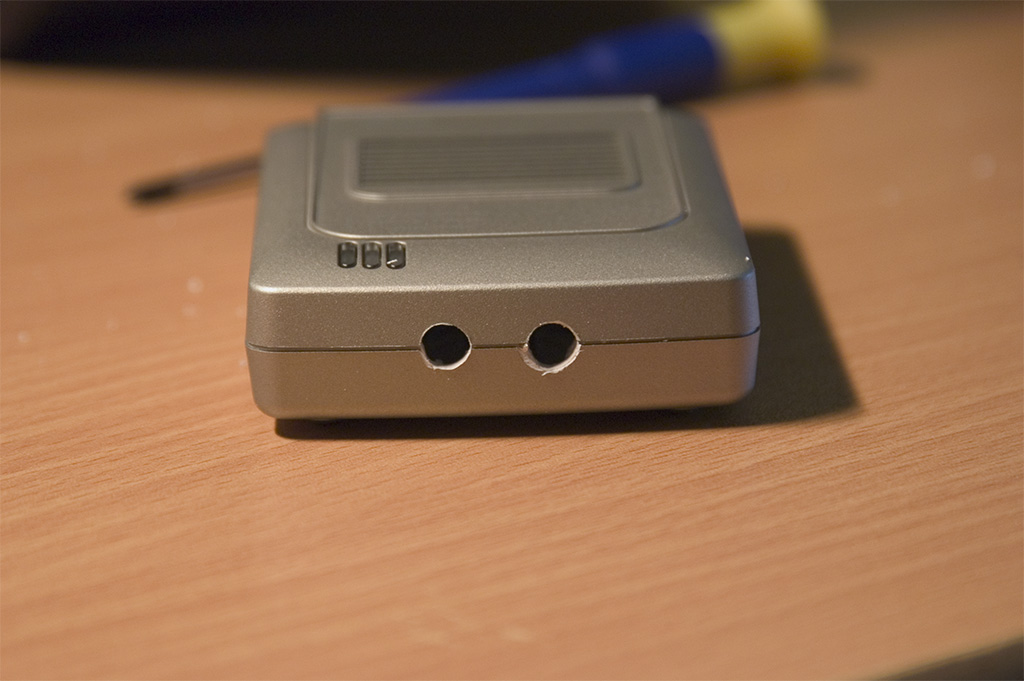
First you need to take it apart and remove the print indside. After that you kan pre drill two holes in the front with a 2-4mm drill.
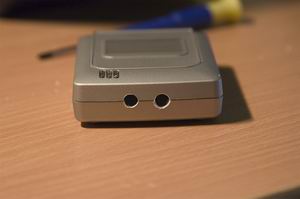
The R-SMA connectors are approx. 6-7mm i diameter and you need to drill holes a little smaller and then file the holes to fit the connectors perfectly.
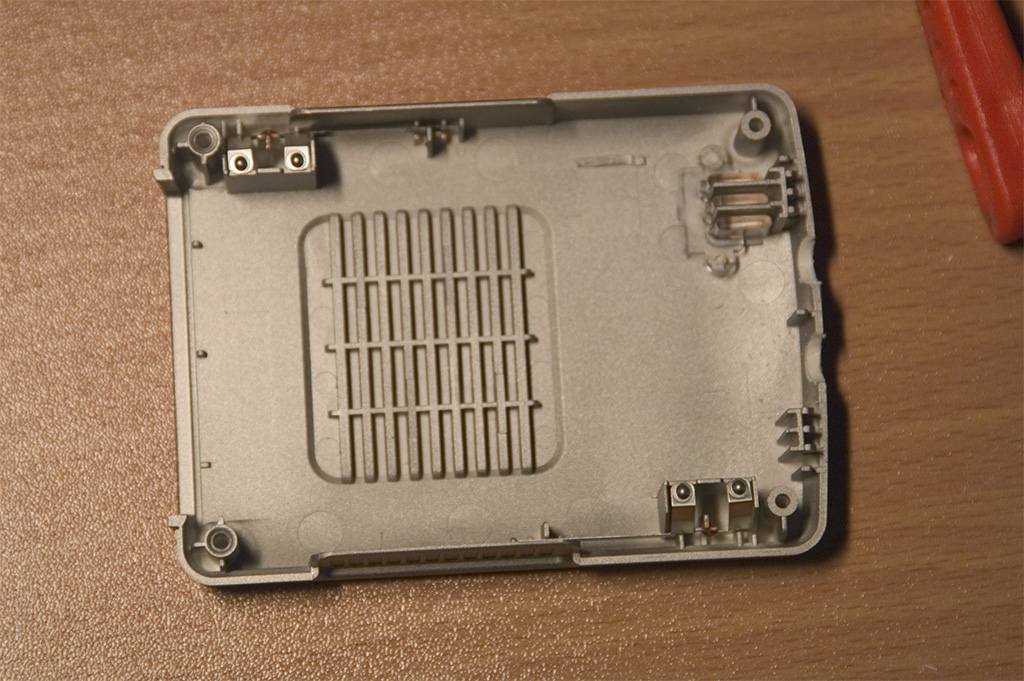
Test the fitting by placing the print back in the chassis and close it all up..

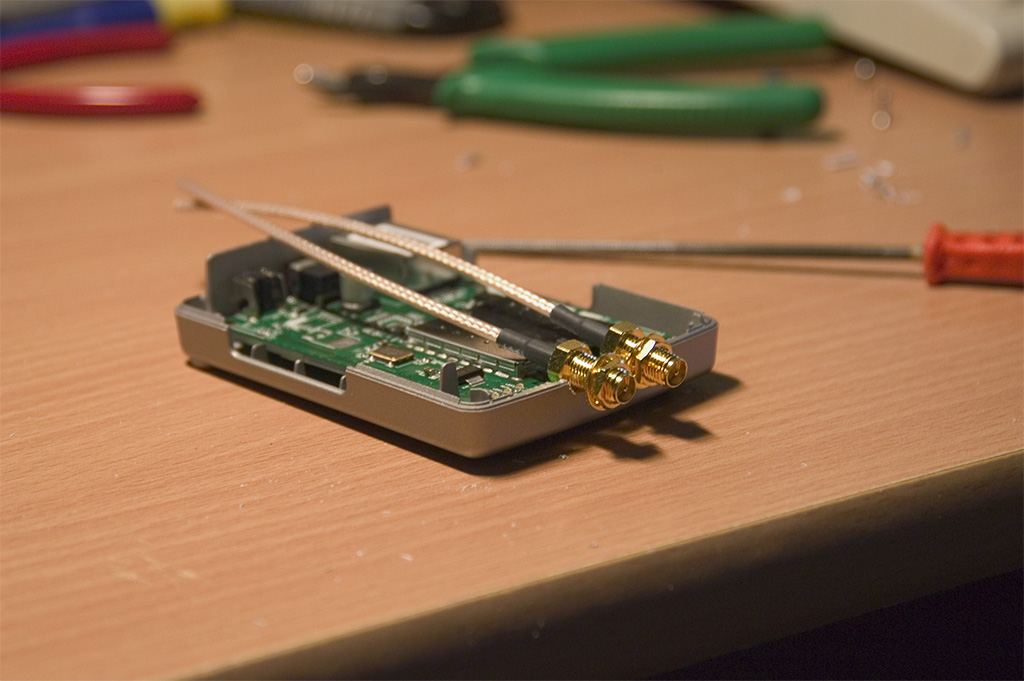
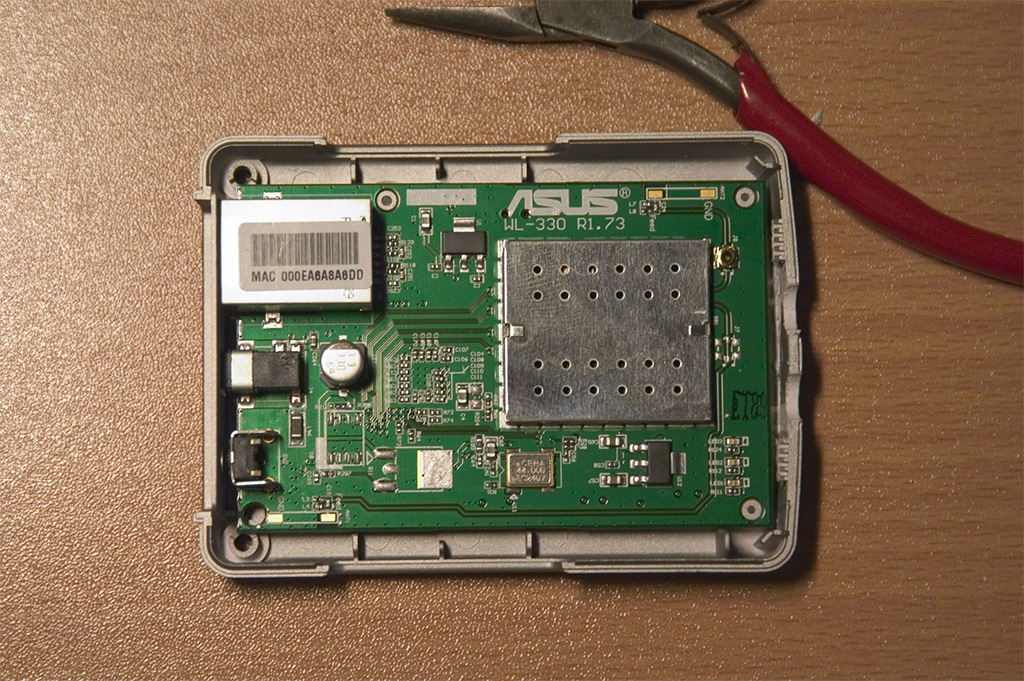
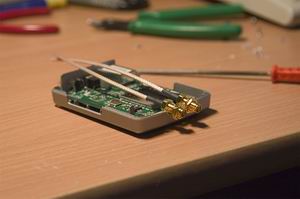
The existing internal antennas are essentially the problem and there fore we need to remove them.
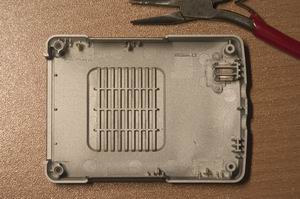
Rip out the metal "antennas" and cut out their mounts all the way. The reason for this is to make some space for the soldering of the external antenna cables later.

The two soldering points for the antennas are located at the bottom left and top right corners of the print. You need the scrape off some of the "lacquer/paint" around the GND soldering point at both of the antennas. The reason for this is to make a more solid solder so the wire/cable doesn't fall off.
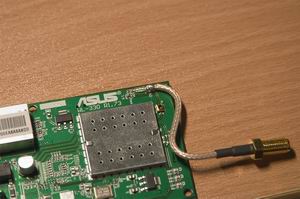
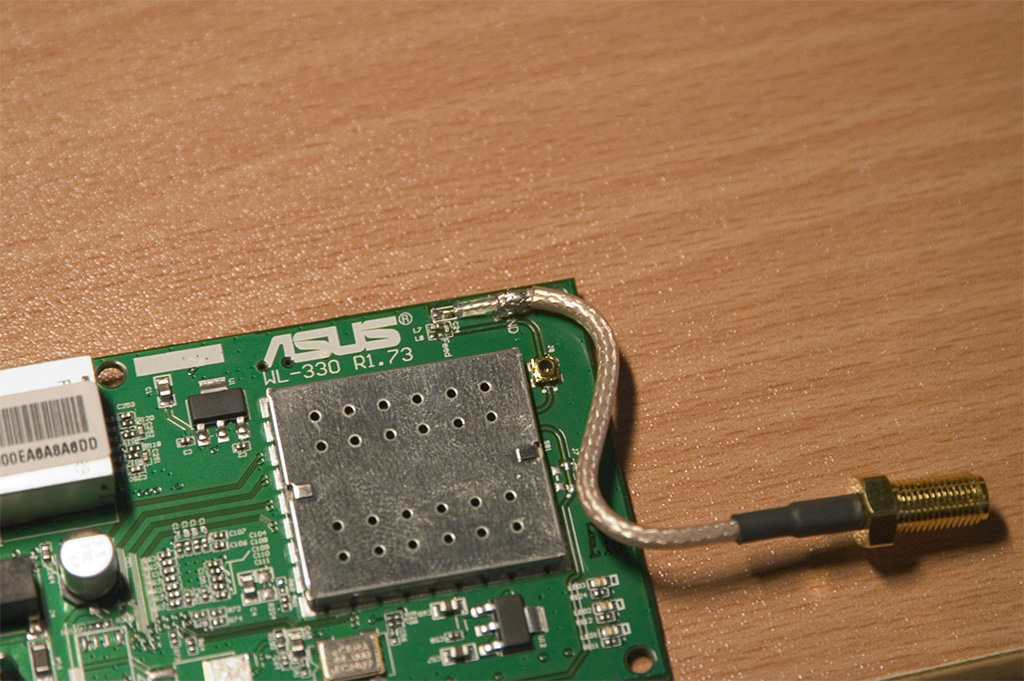
The first antenna wire/cable is soldered on like so.

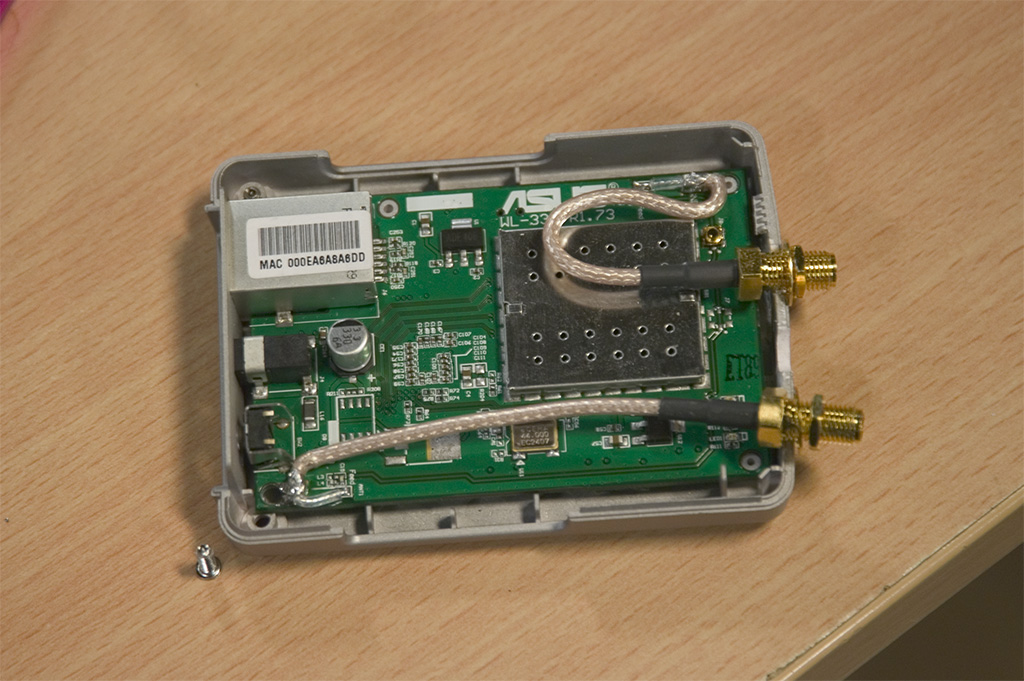
The second wire/cable is soldered on like so. And the "hard work" is done.
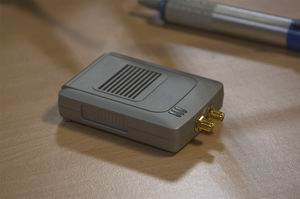
Put it all together again and tighten the chassis R-SMA connectors. Your AP is now optimized approximately 100% or more.
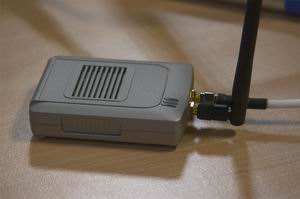
Connect your antennas and test it all. You might not see an increase in strength of the signal when testing close to the AP but there will be a significante drop in noise levels. Try testing with two patch antennas over a long distance. You will imidiately notice the optimization.
|